
Are you looking to transform the look and feel of your space with a fresh coat of paint? Painting a room yourself can be a rewarding and cost-effective way to breathe new life into your home. While the thought of tackling a painting project may seem daunting at first, with the right approach and techniques, you can achieve professional-looking results that rival those of a seasoned painter.
In this guide, we will walk you through everything you need to know to paint like a pro, from choosing the right tools and materials to mastering essential painting techniques. Whether you’re a first-time DIYer or looking to refine your skills, this step-by-step guide will empower you to tackle your painting project with confidence and achieve a flawless finish that will leave your space looking refreshed and rejuvenated.
From proper surface preparation to mastering the art of cutting in and rolling paint smoothly, we’ll cover it all. So, roll up your sleeves, grab your paintbrushes, and let’s dive into the world of painting DIY like a pro. With a little patience, attention to detail, and the guidance provided in this guide, you’ll be well on your way to transforming your space into a masterpiece you can be proud of.
What You’ll Need:
Equipment/Tools – Paint roller, 2-inch angled paintbrush, Extension pole & Ladder
Materials – Cellulose sponge, Dishwashing liquid, Painter’s tape, Primer, Paint & Paint tray
Step 1 – Choose Your Color
Looking at swatches in store is fun, but to figure out what will look best in your space, you’ll want to take home a sample can.
Step 2 – Clean The Walls
Use a broom to clear out hard-to-reach dust and cobwebs in the corners of the ceiling.
Step 3 – Tape The Trim
Use blue painter’s tape (not masking tape) to protect areas you don’t want your paint to get on, such as trim, molding, doorknobs, window frames, and door frames.
Step 4 – Pour Primer In A Tray
Pour in enough paint so that it almost fills the well toward the bottom of the tray without covering the angled portion of the tray where the ridges are.
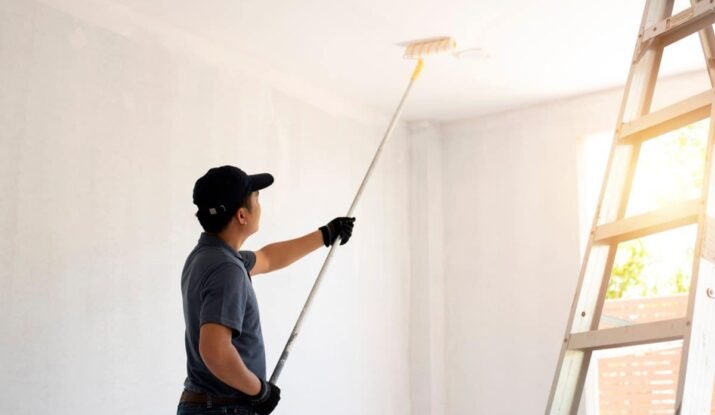
Step 5 – Brush The Corners
Start with the corners, the areas the roller won’t reach.
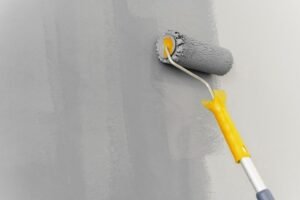
Step 6 – Roll The Primer Onto The Wall
Dip your roller into the primer, rolling it back and forth across the tray’s ridges a few times to remove any excess and prevent drips.
Step 7 – Roll On Paint In A “W” Shape
Roll the paint onto the wall in a 3-by-3-foot “W” shape.
Step 8 – Remove The Painter’s Tape
Peel off the tape while the paint is still wet (ideally about an hour after you’ve finished painting) to avoid accidentally removing any dried paint along with it.
Step 9 – Know When Your Paint Is Dry
Different kinds of paint dry at different speeds, and they’ll feel dry to the touch before they’re ready for you to lay on an extra coat.
Faqs:
Q1: What is the purpose of paint primer?
Before you go paint shopping, you need to know what type of surface you’re painting. The two main types of paints are oil-based and water-based. Primer paint is a substance applied to surfaces before painting to give the paint something to lock onto.
Q2: What Type of Paint to Use?
The two main types of paints are oil-based and water-based, both of which have pros and cons.
